How to train your first machine learning model and run it inside your iOS app via CoreML


Introduction
Machine Learning (ML) in the context of mobile apps is a vast field, encompassing various implementations and requirements. At the highest level, it can be categorized into:
- Running ML models on server infrastructure and accessing them from your app through API requests
- Running ML models on-device within your app (we will focus on this)
- Fine-tuning pre-trained ML models on-device based on user behavior
- Training new ML models on-device
In this series, we will focus on variant 2: starting by training a new ML model on your server infrastructure using real-life data, and then distributing and using that model within your app. Thanks to Apple’s CoreML technology, this process is highly efficient and streamlined.
We have crafted this guide for all developers, regardless of their prior data science or backend experience.
Step 1: Collecting the data to train your first ML model
To train your first machine learning model, you need data to train on. For our example, we aim to optimize when to show certain in-app prompts or messages in iOS apps.
Let’s assume your data looks like this:
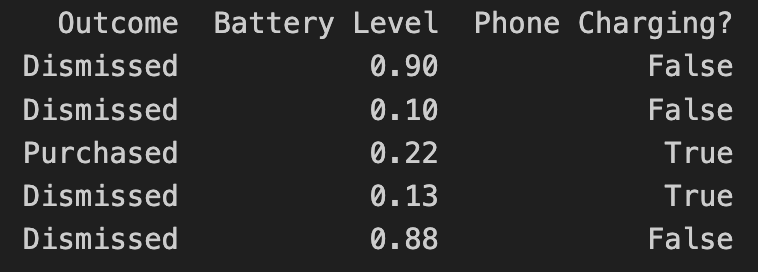
- Outcome describes the result of the user interaction, such as whether they purchased an optional premium upgrade
- Battery Level indicates the user’s current battery level as a float
- Phone Charging notifies if the phone is currently plugged in as a boolean
In the above example, the “label” of the dataset is the outcome. In machine learning, a label for training data refers to the output or result for a specific instance in a dataset. The label is used to train a supervised model, helping it learn to classify new, unseen examples or predict outcomes.
How you collect the data to train your model is your choice. In our scenario, we’d gather non-PII data similar to the example above to train models based on real-world user behavior. We’ve developed our own backend infrastructure to facilitate this, detailed in our Blog:
- Building the Infrastructure to Ingest 40m Context Events per Day
- Unifying Data Models Across a Heterogeneous Stack
Step 2: Load and prepare your data
There are different technologies available to train your ML model. In our case, we use Python along with pandas and sklearn.
Load the recorded data into a pandas DataFrame:
Instead of using hard-coded data like above, you would access your database with the real-world data you’ve already collected.
Step 3: Split the data between training and test data
To train a machine learning model, you need to split your data into a training set and a test set. We won’t dive into why this is necessary, as there are numerous excellent resources explaining it, like this insightful CGP Video.
The code above splits your data by a ratio of 0.2 (⅕) and separates the X and the Y axis, which means separating the label (“Outcome”) from the rest of the data columns.
Step 4: Start Model Training
In this step, you must choose a classifier to use. For our example, we'll employ a basic RandomForest classifier:
The output of the training provides a classification report, which in simplified terms, tells you how accurate the trained model is.

In the screenshot above, we’re only using test data as part of this blog series. If you’re interested in interpreting and evaluating the classification report, check out this guide).
Step 5: Export your model into a CoreML file
Apple’s official CoreMLTools make it straightforward to export the classifier (in this case, our Random Forest) into a .mlmodel (CoreML) file, which we can run on Apple’s native ML chips. CoreMLTools support a range of classifiers, but not all, so it’s important to verify its compatibility first.
Step 6: Bundle the CoreML file with your app
For now, simply drag & drop the CoreML file into your Xcode project. In a future blog post, we will elaborate on deploying new ML models over-the-air.
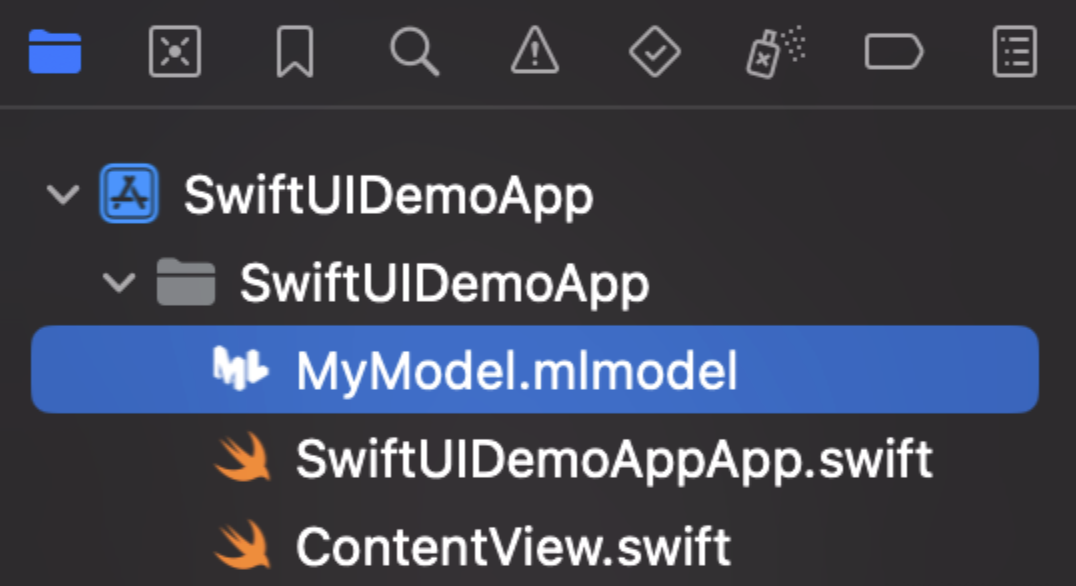
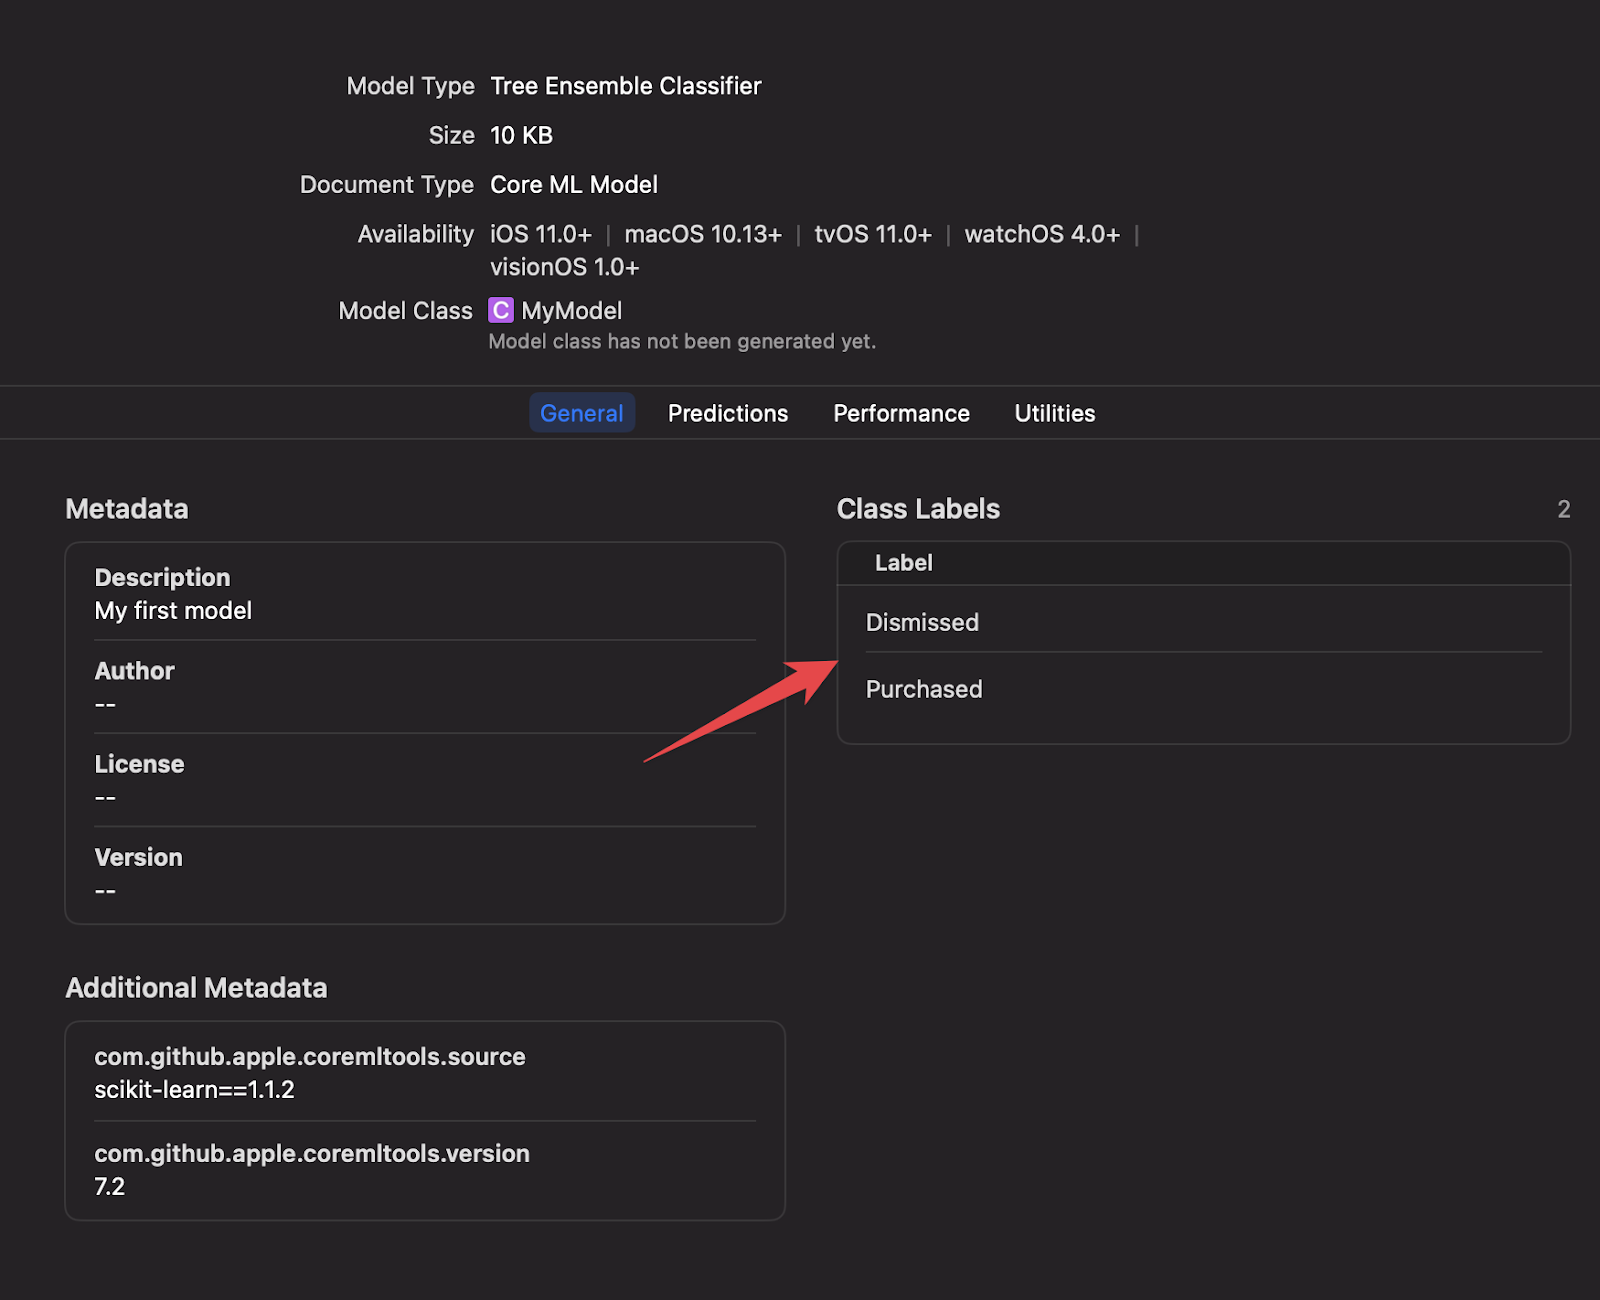
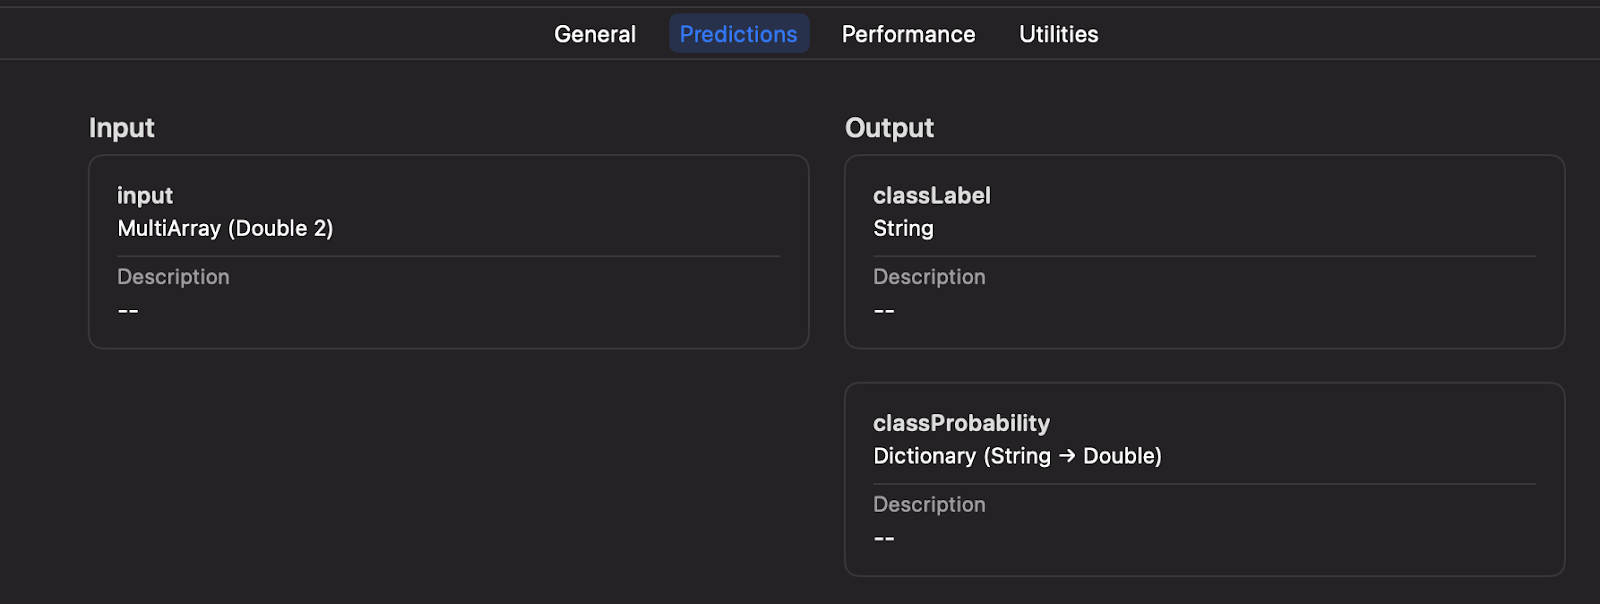
Once added to your project, you can inspect the inputs, labels, and other model details directly within Xcode.
Step 7: Executing your Machine Learning model on-device
Xcode will automatically generate a new Swift class based on your .mlmodel file, including details about the inputs and outputs.
In the code example provided, we input parameters such as battery level and charging status using an indexed array. This method does not use explicit string labels but provides enhanced performance if you have numerous inputs.
Alternatively, during the model training and export process, you can opt for a String-based input for your CoreML file if desired.
We will further discuss how to optimize your iOS app to leverage both methods while supporting over-the-air updates, dynamic inputs based on new models, and effectively handling errors, processing responses, managing complex A/B tests, safe rollouts, etc.
Conclusion
In this guide, we outlined the process from data collection to training a Machine Learning model and running it on-device to make decisions within your app. With Python’s rich library ecosystem, including Apple’s CoreMLTools, it’s straightforward to embark on your first ML model. Thanks to Xcode’s native support for CoreML files and on-device execution, developers can benefit from the robust features of Apple’s platform, such as model inspection within Xcode, strong typing, and reliable error handling.
Within your organization, a Data Scientist will likely be responsible for training, fine-tuning, and providing the model. In this guide, we presented a simple example. However, ContextSDK takes into account over 180 different signals from diverse types, patterns, and sources to deliver optimal results, ensuring models remain compact and efficient.
In the coming weeks, we will publish a second post on this subject, demonstrating how you can deploy new CoreML files to millions of iOS devices over-the-air, in a secure and cost-effective manner, while managing intricate A/B tests, dynamic input parameters, and more.